初始化
1 | npm init -y |
其中的参数-y表示对于所有询问说Yes。
此时文件夹中会多一个package.json文件,其内容如下:
1 | { |
安装依赖
1 | npm install express |
执行后可以在命令行中看到如下输出:
1 | added 57 packages, and audited 58 packages in 15s |
此时package.json中会多个属性:
1 | { |
安装Typescript并创建tsconfig.json
执行如下命令
1 | npm install typescript -g |
其中 -i表示install, -g表示global。
执行成功后,一般情况下系统可以执行tsc命令,尝试执行:
1 | tsc -v |
如果报错:
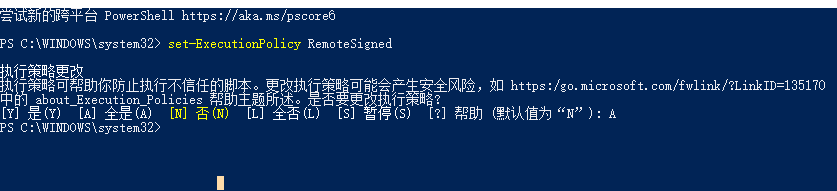
1 | tsc : 无法加载文件 C:\nodejs\tsc.ps1,因为在此系统上禁止运行脚本。有关详细信息,请参阅 https:/go.microsoft.com/fwlink/?LinkID=1351 |
以管理员身份打开powershell,执行命令:set-ExecutionPolicy RemoteSigned
再次在命令行窗口执行
1 | tsc -v |
执行成功后,执行如下命令,创建tsconfig.json
1 | tsc --init |
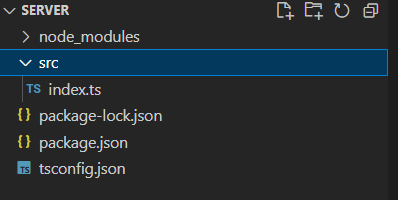
创建src目录以及index.ts
如图:
在tsconfig.json中添加:
1 | { |
安装nodemon
nodemon能够实现在程序代码变更之后自动监听然后重启开发服务。
1 | npm install nodemon -g |
安装ts-node
以便解析typescript至javascript,这个安装包是为了不用编译直接运行typescript代码
1 | npm install ts-node -g |
在package.json的scripts中添加命令:
1 | "dev": "nodemon --exec ts-node ./src/index -e ts" |
在src目录下创建index.ts文件,文件内容可以简单的写一句日志输出:
1 | // ./src/index.ts |
在命令行中执行:
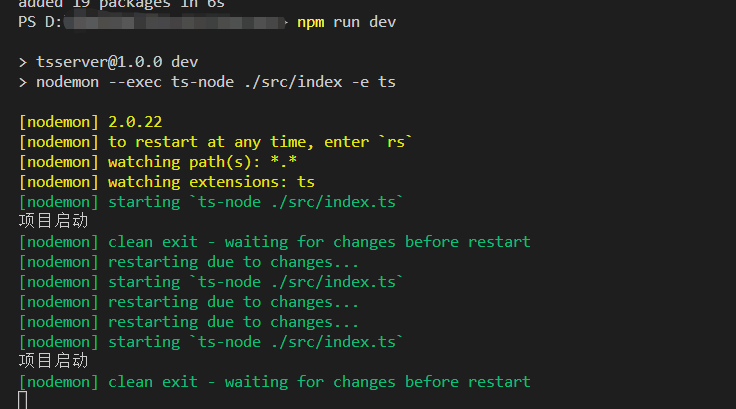
1 | npm run dev |
执行效果如下图:
使用Express搭建一个简易的响应服务
命令行中执行如下命令,安装node和express的类型声明。(因为Javascript的.js文件是没有类型的,从而造成Typescript不能识别)
1 | npm install -D @types/express @types/node |
也有说法是在tsconfig.json中添加一条属性:"allowJs": true,这样做会造成Typescript将Javascript中的所有方法类型全部定义为any,因此不建议这么做。
在src/index.ts中录入以下代码:
1 | import express from "express" |
执行npm run dev,在浏览器中录入接口路径,查看输出结果:
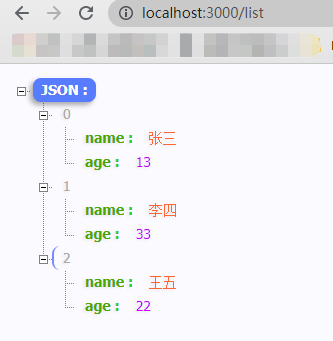
至此,一个简单的Nodejs的Web服务就搭建好了。
参考文献
